Posts

Broken Dreams

Image
In this tutorial I used the awesome art of Enys Guerrero . I just love Enys’ art! You need a license to use it, available at Creative Design Outlet . I used a fabulous kit Kiss#5. This is one of the series of Kiss kits priced at just a dollar. The kit comes with 30 elements and a paper for you to make your own tag and also a ready made PSD and PSP shadowed tag. You can purchase the kit at Deedles n Doodles store. You will also need a mask, I used mask 05 by Millie at Millie’s PSP Madness . Font of choice. Please check out my “About my tutorials” page if this is the first tutorial of mine you have followed, thank you. I used a drop shadow of vertical 0, horizontal 5, opacity 85, blur 10. Open a new transparent canvas 700 by 700 pixels and fill with white. Make a new layer on your canvas, fill with colour #1c1f21 and apply the mask.   If you are going to use your tag on a dark background, fill the layer with the paper instead of the colour. Paste element 19 as a new layer, resize 60...
Sweetly Refined

Image
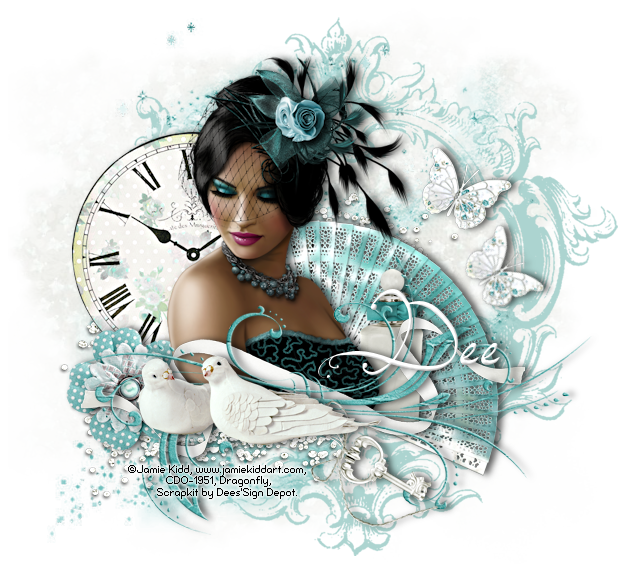
In this tutorial I used the beautiful art of Jamie Kidd. You need a license to use Jamie’s art, available at Creative Design Outlet . I used a kit called “Sweetly Refined”. This is a really gorgeous kit and has many more elements than I have used in this simple tag. The kit can be purchased at Deedles n Doodles store. You will also need a mask, I used mask 188 by Gems . I used the font  Endless Voyage by Jellyka . Please be sure to check out my “About my tutorials” page if this is the first tutorial of mine you have followed, thank you. I used a drop shadow of vertical 0, horizontal 5, opacity 65, blur 10. Open a new transparent canvas 650 by 600 pixels and fill with white. Copy Paper_14, make a new layer on your canvas, select all, paste the paper into the selection, deselect and apply the mask.   Duplicate the mask and merge the top copy down onto the original copy. Paste Spray_6 as a new layer and resize 75%. Paste Spray_2 as a new layer,   resize 80% and move a littl...

Glam and Glitter

Image
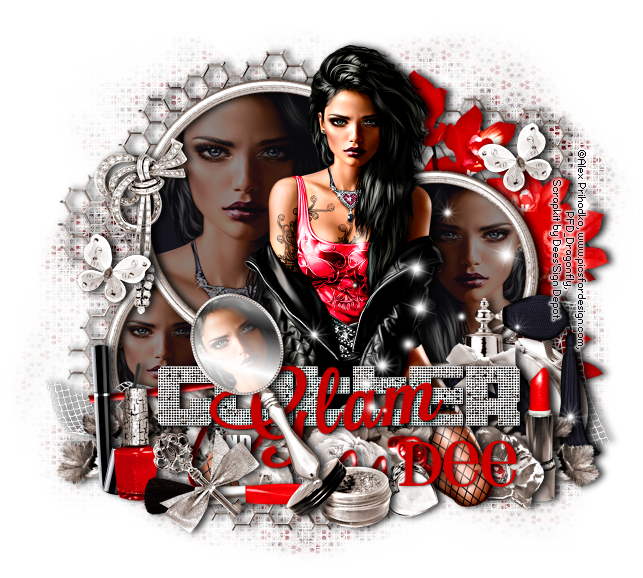
In this tutorial I used the fabulous art of Alex Prihodko, You need a license to use Alex’ art, available at Pics for Design . I used a kit called “Glam it Up”. This beautiful kit can be purchased at Deedles n  Doodles store. You will also need a mask, I used Big Mask 017 by Vix . I used the font Pharmacy . Please check out my “About my tutorials” page if this is the first tutorial of mine you have followed. I used a drop shadow of vertical 0, horizontal 5, opacity 85, blur 10. Open a new transparent canvas 700 by 600 pixels, fill with white, go to Selections – Select All. Paste Paper_6 as a new layer and go to Image – Crop to Selection and then apply the mask. Paste Frame_6b as a new layer, resize 60%, select each section of the frame with your magic wand, expand the selection by 5, make a new layer below the frame and fill with black, deselect.   We will come back to this. Paste Element_5 as a new layer on the top, resize 35%, place in position and apply the drop shadow. Pa...

Remember When

Image
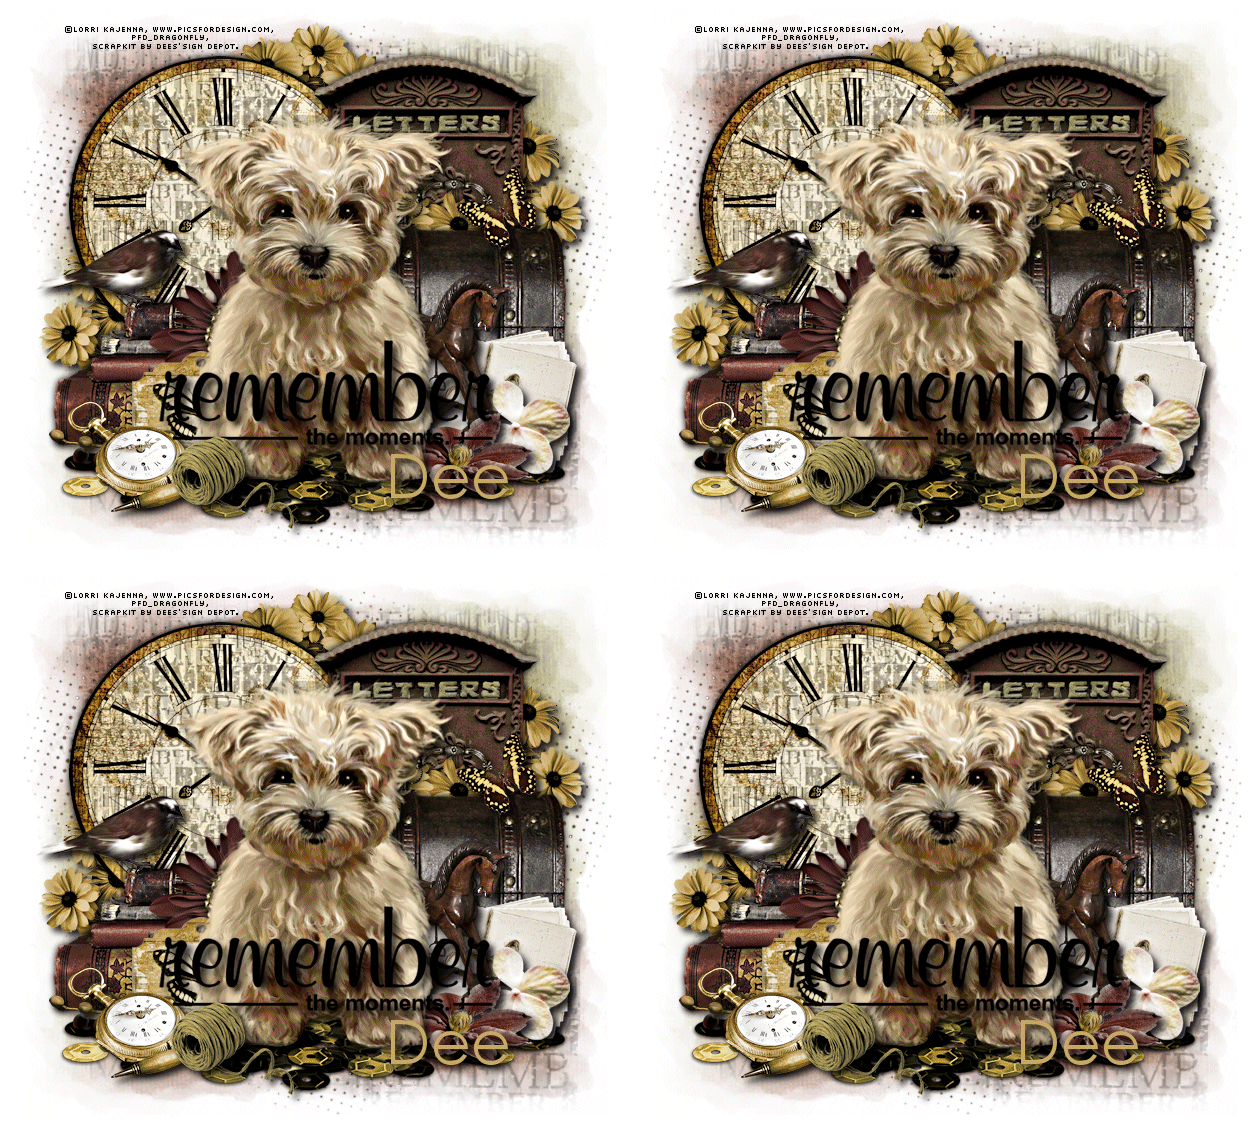
In this tutorial I used a beautiful tube by Lorri Kajenna. You can purchase this tube at Pics For Design . The kit is called “Remember When”. This is a really beautiful kit made in memory of Dee’s father and contains some beautiful elements, many more than I have used. You can purchase the kit at Deedles n Doodles store. You will also need a mask, I used mask 565 by Insatiable Dreams . I used the Windows font  Century Gothic. You will need Animation Shop for the animation. The idea for the animation belongs to Crazy Carita , I have simply written the tutorial for it. Check out Carita’s site to see her gorgeous tag "Cutsey Splash" If this is the first tutorial of mine you have followed, please check out my “About my tutorials” page before starting, thank you. Unless noted, I used a drop shadow of vertical and horizontal 5, opacity 85, blur 10. Open a new transparent canvas 650 by 600 pixels and fill with white. Make a new layer on your canvas, select all, copy Paper_12 and pa...