Posts

Showing posts from July, 2018

Verbatim

Image
In this tutorial I used the art of Enys Guerrero .  I just love Enys’ art. You can purchase this tube at Creative DesignOutlet . The kit is “Your Words”. This is my third tutorial with this awesome kit! You can purchase it at Deedles n Doodles store. You will need my mask 0042 . Font is  Morocco Lt Std . I used a drop shadow of vertical 0, horizontal 5, opacity 85, blur 10. Open a new transparent canvas 700 by 800 pixels and fill with white. Make a new layer, fill with black, apply the mask, resize it 90% and move over a little to the right. Paste spray 13 and resize 95%. Paste spray 14, resize 83%, duplicate, merge the copy down onto the original, duplicate this merged layer, position one copy top right and one further down over on the left. Paste element 100, resize 70%, place in position and apply the drop shadow. Paste element 84d, resize 70%, duplicate, resize the copy another 60%, place in position and apply the drop shadow to each. Paste element 101, resize 50%, place in positio
Always On My Mind

Image
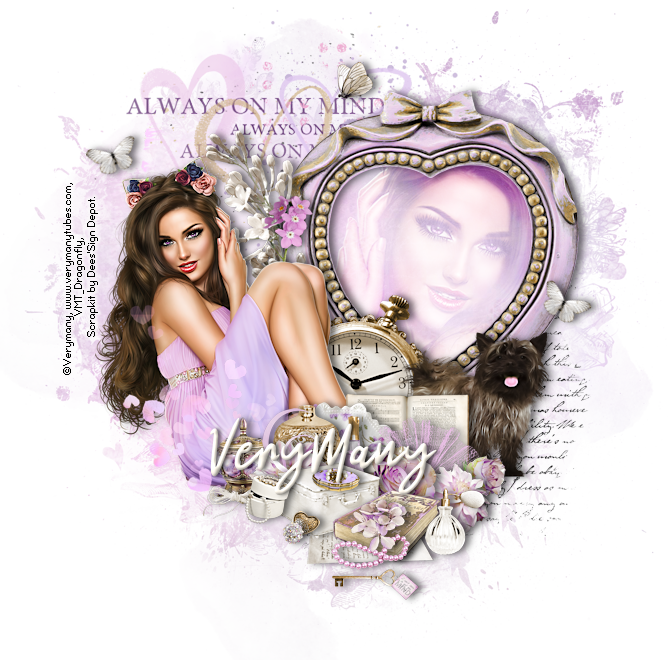
In this tutorial I used the beautiful tube “Ingrid” from Verymany . You can purchase the tube at Verymany’s store . The kit is “On My Mind”. This is a really fabulous kit, I just loved working with it! You can purchase it at Deedles n Doodles store. You will need “pretty heart” mask 2646*2498 from Pngtree . Font of choice. I used a drop shadow of vertical 0, horizontal 5, opacity 55, blur 10. Open a new transparent canvas 750 by 750 pixels and fill with white. Paste the mask and resize it 28%.  Select all, float and defloat the mask, make a new layer, paste paper 3 into the selection, deselect and delete the original black mask layer.  You need to be very careful when you crop your tag when its finished as there are some very light areas on the mask that do not show up well on a white background, its best to change the background to a dark colour for the cropping. Paste spray 5, resize 45% and move into place. Paste spray 6, resize 80% and move into place. Paste frame 2, resize 45% and

Made Up

Image
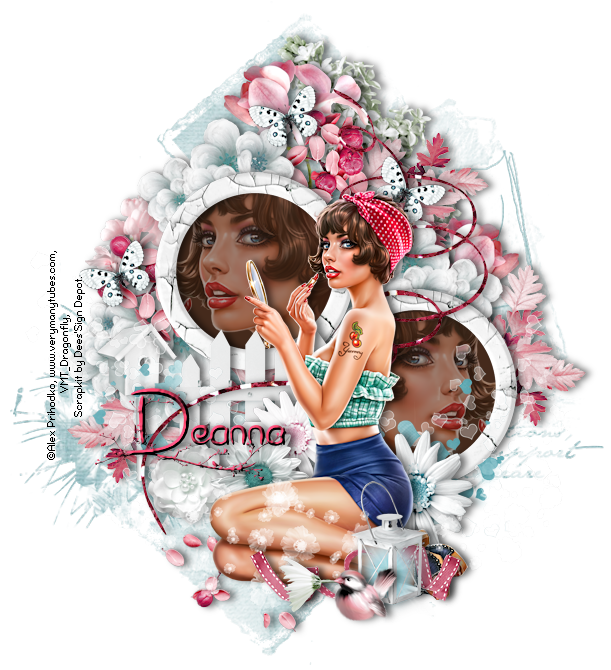
In this tutorial I used the tube “Makeup” by Alex Prihodko . You can purchase the tube at Verymany’s store . The matched kit is “Marguerite Melody”. You can purchase Dee’s kits at Deedles  n Doodles store. You will need mask 2 from Imagine by Fran . Font is Eglantine . I used a drop shadow of vertical 0, horizontal 5, opacity 55, blur 10. Open a new transparent canvas 700 by 750 and fill with white. Paste the mask and resize it 40%.  Select all, float and defloat the mask, make a new layer and paste paper 4 into the selection, deselect and delete the original black mask layer, duplicate the paper mask layer and merge the copy down onto the original. Paste the main tube, resize 33%, move into place and apply the drop shadow. Paste frame 3, resize 45%, drag below the tube, duplicate and move into place.   Select the interior of the left frame with your magic wand and expand the selection by 10, make a new layer below the frame and fill with colour 452a1c.  Paste the main tube, resize 65%

Polished to Perfection

Image
In this tutorial I used the lovely tube “Lady in red” from Alex Prihodko . You can purchase the tube in  Verymany’s store . The kit is “Finishing Touch”. and it can be purchased at Deedles n Doodles store. You will need mask 4 from Imagine by Fran . Font of choice. Other than the butterflies, I used a drop shadow of vertical 0,   horizontal 5, opacity 65, blur 10. Open a new transparent canvas 750 by 750 pixels and fill with white. Paste the mask and resize it 33%.   Select all, float and defloat the mask, make a new layer and paste paper 11 into the selection, deselect and delete the black mask layer.   When I had finished my tag I stretched the mask a bit longer using my Pick tool. Paste frame 6, resize 50%, place in position and apply the drop shadow. Paste the tube, resize 35%, place in position and apply the drop shadow. Paste element 10, resize 65%, rotate 30 degrees to the right and position below the tube. Paste the element again, resize this copy 60%, rotate it 40 degrees to t

Sew Darn Much

Image
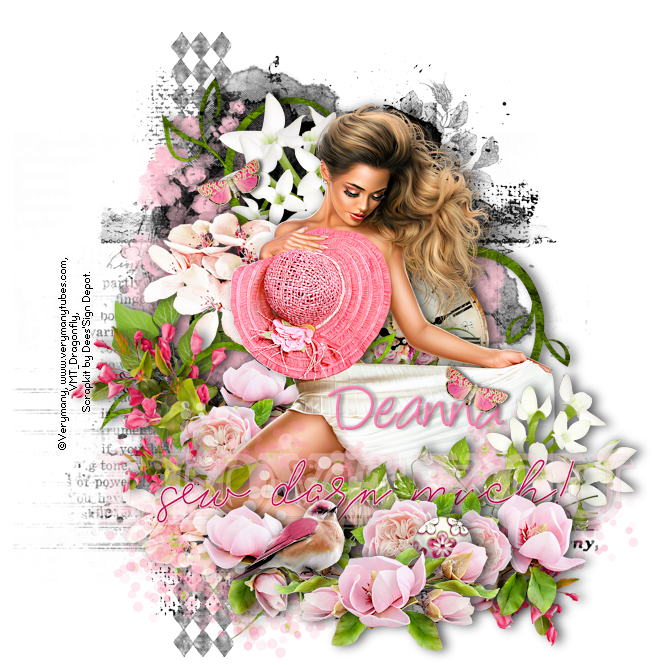
In this tutorial I used the beautiful tube “Promenade” from Verymany . This lovely tube can be purchased at Verymany’s store . The kit is “Sew Darn Much”. This is a beautiful kit and you can will find it at Deedles n Doodles store. You will need Pretty Black Ink mask  2111*2721 from pngtree . Font is  Angelina . I used a drop shadow of vertical 0, horizontal 5,   opacity 65, blur 10. Open a new transparent canvas 700 by 800 pixels and fill with white. Paste the mask and resize it 23%.   We are going to leave it as it is. Make a new layer and fill with black.   Paste spray 1 and resize 90%, select all, float and defloat the spray, invert the selection, activate the black layer and hit delete, deslect, delete the brown spray layer and move the black one over to the left.   Paste spray 10, resize 60% and move into place.   Paste element 11, resize 90%, place in position and apply the drop shadow. Paste the tube, resize 35%, place in position and apply the drop shadow. Paste element 33, re