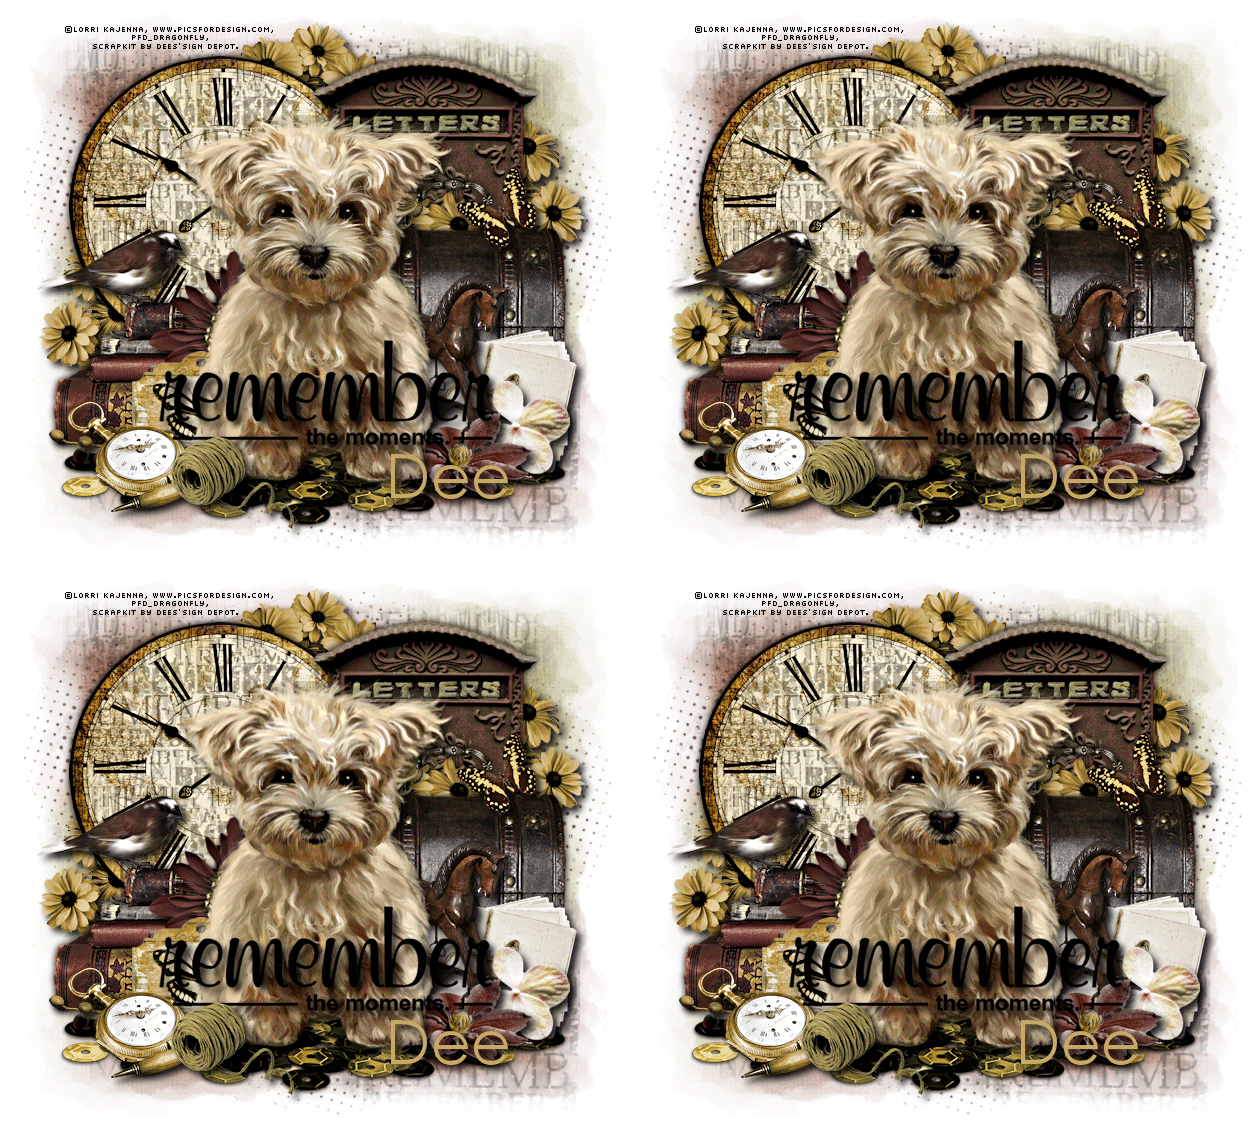
Remember When
In this tutorial I used a beautiful tube by
Lorri Kajenna.
Lorri Kajenna.
You can purchase this tube at
The kit is called “Remember When”.
This is a really beautiful kit made in memory of Dee’s father and
contains some beautiful elements, many more than I have used.
You can purchase the kit at
Deedles n Doodles store.
You will also need a mask, I used mask 565 by
I used the Windows font
Century Gothic.
You will need Animation Shop for the animation.
The idea for the animation belongs to
I have simply written the tutorial for it.
Check out Carita’s site to see her gorgeous tag
"Cutsey Splash"
If this is the first tutorial of mine you have followed, please check out my “About my tutorials” page before starting, thank you.
Unless noted, I used a drop shadow of vertical and horizontal 5, opacity 85, blur 10.
Open a new transparent canvas 650 by 600 pixels and fill with white.
Make a new layer on your canvas, select all, copy Paper_12 and paste it into the selection, deselect and apply the mask. Resize 90%.
Paste Stamp_1 as a new layer and resize it 65%. Move the stamp over to the left a little and then use your Pick tool (Raster Deform tool in older versions) to stretch it out so its about the same size as the mask.
Paste Stamp_3 as a new layer and resize 85% and apply a drop shadow of vertical and horizontal 0, opacity 85, blur 2.
Paste Element_64 as a new layer, resize 55%, place in position and apply a drop shadow of vertical and horizontal 0, opacity 100, blur 10.
Paste Element_57 as a new layer, resize 65%, place in position and apply the last drop shadow.
Paste Element_7 as a new layer, resize 70%, place in position and apply the last drop shadow.
Paste Element_76 as a new layer, resize 65%, place in position and apply the last drop shadow.
Paste your tube as a new layer, resize 25%, place in position and apply the drop shadow of vertical and horizontal 5, opacity 85, blur 10, this is the shadow we will be using from now on.
Paste Element_37 as a new layer, resize 85%, drag below the tube and place in position. There is already a drop shadow so no need for another.
Paste Element_14 as a new layer, resize 55%, place in position and apply the drop shadow.
Paste Element_77 as a new layer, resize 55%, place in position and apply the drop shadow.
Paste Element_18 as a new layer, resize 40%, place in position and apply the drop shadow.
Paste Element_40 as a new layer, mirror, resize 35%, place in position and apply the drop shadow.
Paste Element_11 as a new layer, resize 70%, place in position and apply the drop shadow.
Paste Element_2 as a new layer, resize 30%, place in position and apply the drop shadow.
Paste Element_59 as a new layer, resize 40%, place in position and apply the drop shadow.
Paste Element_79 as a new layer, resize 40%, place in position, erase the tassel and apply the drop shadow.
Paste Element_27 as a new layer, resize 40%, place in position and apply the drop shadow.
Paste Wordart_2 as a new layer and bring to the top, resize 65%, place in position and apply the drop shadow.
Paste Element_16 as a new layer, resize 45%, place in position and apply the drop shadow.
Check your layers now and see if you need to make any adjustments.
Paste Element_60 as a new layer and resize 60%. Drag below the clock face and position on the left of it, duplicate, mirror the duplicate and move over to the right, duplicate that copy and move up so it shows at the top, finally duplicate again and drag up above the post box so it shows above the bag. Apply the drop shadow to all copies.
Paste Element_62 as a new layer, resize 40%, position on the books and apply the drop shadow.
Paste Element_21 as a new layer on the top, resize 33%, place in position and apply the drop shadow.
When you are done, crop your tag and add your copyright information and text. If you are not continuing with the animation, save your tag on a transparent background as a png.
Animation:
Activate your tube, duplicate it, rename the original “Copy 1”, the duplicate “Copy 2“) and close the original copy off. Take your freehand selection tool set to “ellipse” and with the feather set to 10, place your cursor in the centre of the tube between his eyes and draw an oval selection something like my screenshot below. The bottom of the selection needs to come just below the dogs chin but the width and height don’t matter so long as its larger than the head. The reason we need to draw the selection is because the effect will blur the image slightly and we will need to sharpen it but we only want to sharpen the part that is affected.
Now take your Warp brush, set the mode to “push” and the size to 150, put your curser in the centre of the dogs nose and push it up a very tiny amount, really tiny amount, then push down and out a tiny amount on each ear and then down a tiny amount above each eye.
Now duplicate this layer, rename the duplicate “Copy 3” and close copy 2 off. Repeat the above steps moving the same parts a little bit more, deselect.
Right click on your tag, “Copy Merged” and paste in Animation Shop “As a New Animation”. Close off copy 3 and open the copy 2, again copy merged but this time paste before and after the first frame, now open copy 1, copy merged and paste it at the front of the other frames. You should have four frames, Copy 1 – Copy 2 – Copy 3 – Copy 2. Change the speed on the first frame to 150 and the other copies all to 2 (Animation - Frame Properties).
When you finished, run your animation through the Optimization Wizard and save it as a gif.


Comments
Post a Comment