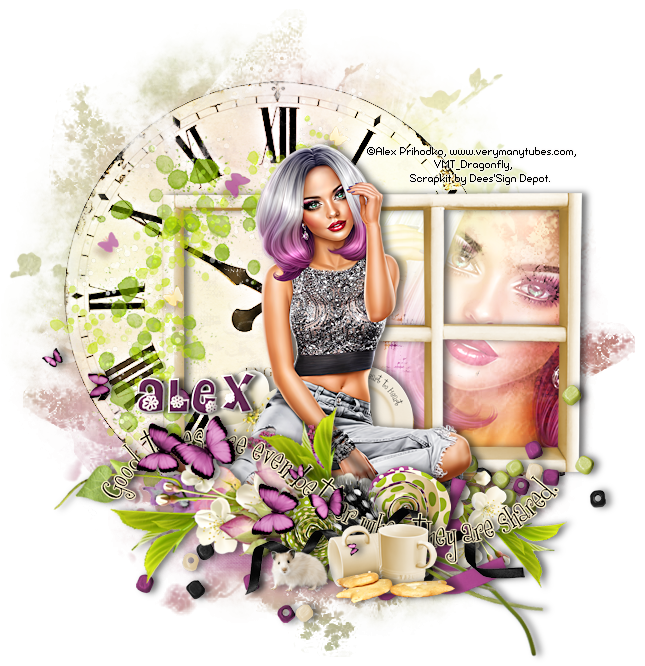
Between Friends
In this tutorial I used the tube “Alex” from
You can purchase the tube at
I used the kit “Between Friends”.
This pretty mini kit is available at
Deedles n Doodles store.
You will need mask 29 from
Font of choice.
I used a drop shadow of vertical 0, horizontal 5, opacity 55, blur 10.
Open a new transparent canvas 700 by 700 pixels and fill with white.
Make a new layer, select all, paste paper 11 into the sselection, deselect and apply the mask.
Paste element 50, resize 70%, place in position and apply the drop shadow.
Paste the tube, resize 30%, place in position and apply the drop shadow.
Paste element 57, resize 80%, mirror and position below the tube.
Paste element 36, resize 20%, place in position and apply the drop shadow.
Paste element 61, resize 80% and move into place.
Paste element 29, resize 60%, duplicate, place in position and apply the drop shadow to each.
Paste element 3b, resize 25%, place in position and apply the drop shadow.
Paste element 3a, resize 25%, place in position and apply the drop shadow.
Paste element 65 on the top, resize 70% and rotate 60 degrees to the left, place in position and apply the drop shadow.
Paste element 14, resize 25%, place in position and apply the drop shadow.
Paste element 16, resize 25%, place in position and apply the drop shadow.
Paste element 8, resize 40%, place in position and apply the drop shadow.
Paste element 25, resize 30%, place in position and apply the drop shadow.
Paste element 60, resize 65%, place in position and apply the drop shadow.
Paste element 5b, resize 23%, place in position and apply the drop shadow.
Paste element 49, resize 25%, place in position and apply the drop shadow.
Paste element 4, resize 17%%, place in position and apply the drop shadow.
Paste element 55, resize 65%, place in position and apply the drop shadow.
Check your layers and make any adjustments.
Paste the tube again just above the mask and mirror it, on the frame to activate it then click anywhere on your canvas outside of it to make a selection, go back to the tube and hit delete, deselect and change the blend mode to “Overlay”.
Paste element 37, resize 90%, change the blend mode to “Hard Light” and move into place, click on the mask to activate it, select all, float and defloat the mask, invert the selection, hit delete on the clock, deselect and erase the part that is inside the right hand part of the frame.
When you are done, crop your tag, add your copyright information and text and export on a transparent background as a png.


Comments
Post a Comment