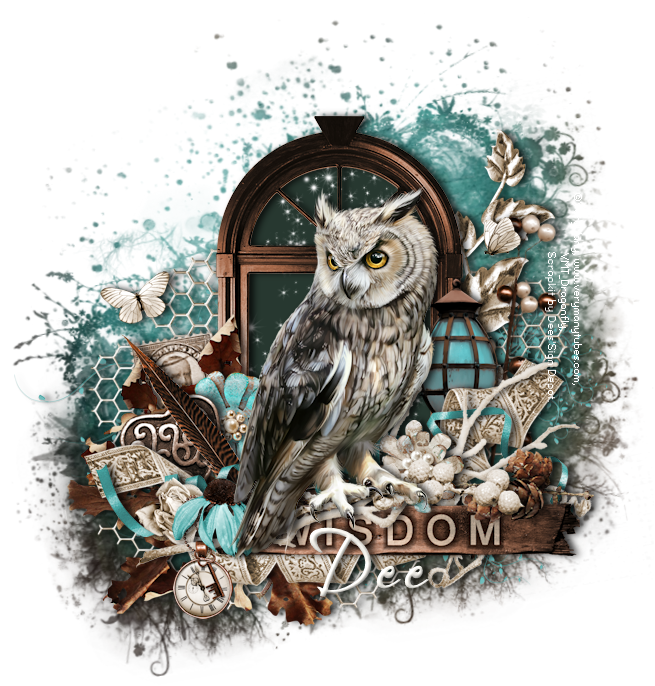
Mon Cherie
In this tutorial I used the lovely tube “Kitty 3” from
You can purchase the tube from
The gorgeous kit is “Mon Cherie d’Amour”.
You can find it
Deedles n Doodles store.
You will need my mask
0045.
Font of choice.
I used a drop shadow of vertical 0, horizontal 5, opacity 55, blur 10.
Open a new transparent canvas 700 by 800 and fill with white.
Make a new layer, select all, paste paper 1 into the selection, deselect, apply the mask, resize it 95%, duplicate it and merge the copy down onto the original.
Paste element 19, resize 65%, place in position and apply the drop shadow.
Paste frame 4, resize 50%, place in position and apply the drop shadow.
Paste element 23, resize 65%, place in position and apply the drop shadow.
Paste element 30, resize 50%, place in position and apply the drop shadow.
Paste the main tube, resize 35%, place in position and apply the drop shadow.
Paste element 7, resize 70%, drag below the tube and position on the left, duplicate and position the copy on the right.
Paste element 97, resize 90% and place in position.
Paste element 21, resize 60% and mirror, place in position and apply the drop shadow.
Paste element 90b, resize 55%, duplicate, place in position and apply the drop shadow to each.
Paste element 35, resize 40%, place in position and apply the drop shadow.
Paste element 3, resize 30%, place in position and apply the drop shadow.
Paste element 14, resize 20%, place in position and apply the drop shadow.
Paste element 31, resize 25%, place in position and apply the drop shadow.
Paste element 40, resize 40%, place in position and apply the drop shadow.
Paste element 48 on the top, resize 35%, place in position and apply the drop shadow.
Paste element 24, resize 30%, place in position and apply the drop shadow.
Paste element 68, resize 50%, place in position and apply the drop shadow.
Paste element 10b, resize 15%, place in position and apply the drop shadow.
Paste element 98a, resize 15%, place in position and apply the drop shadow.
Check your layers and make any adjustments.
Paste the tube again just above the mask, select the mask, float and defloat it, move the tube into position, invert the selection and hit delect, deselect. Erase any of the tube that shows at the bottom of the tag below the main, tube then recolour it dcd9d4, duplicate it, go to Adjust – Blur – Gaussian Blur and apply with Radius set to 5 on the original copy and change the blend mode on the top copy to “Overlay”.
When you are all done, crop your tag, add your copyright information and text and export on a transparent background as a png.


Comments
Post a Comment