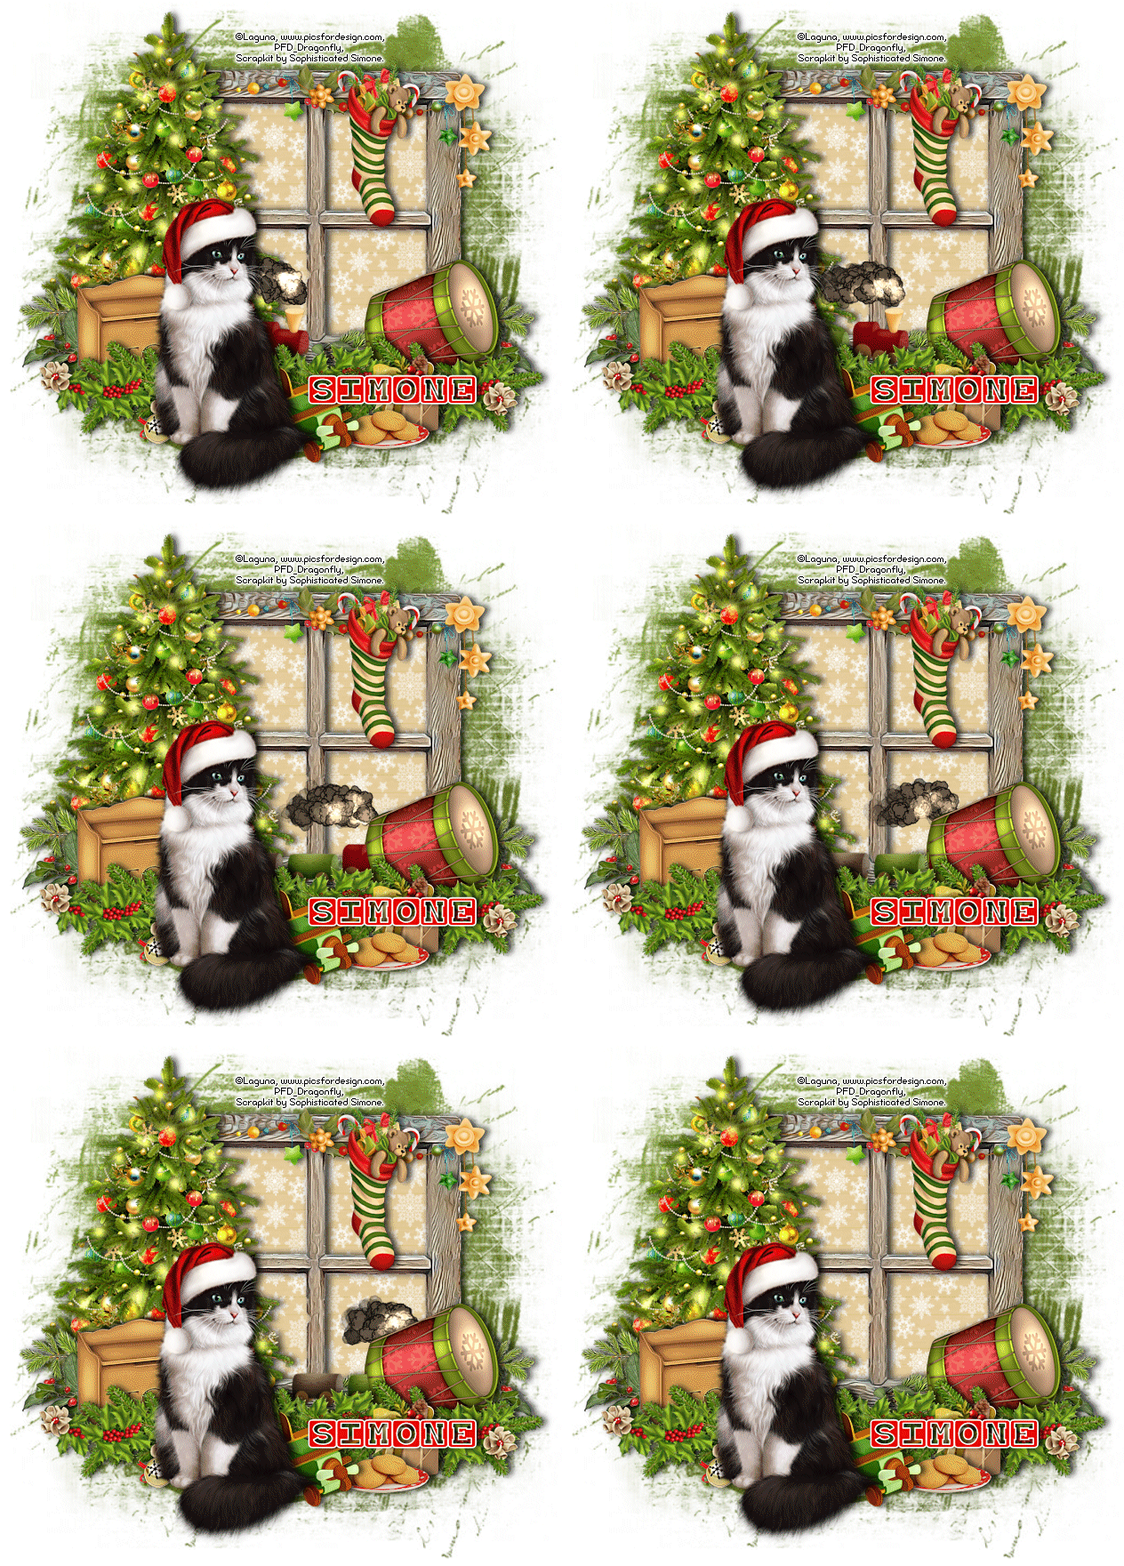
Santa's train
In this tutorial I used the gorgeous cat that
Comes with the tube “Christmas girl fairy with a cat” by
You can purchase the tube at
I used part of the collab “Hung With Care” .
The kit includes four animations and can be purchased at
Doodles n Deedles store.
I used mask 4 from set 53 by
You will need Animation Shop for the animation.
Font is
I used a drop shadow of vertical 0, horizontal 5, opacity 75, blur 10.
Open a new transparent canvas 750 by 700 pixels and fill with white.
Make a new layer, select all, pate paper 9 into the selection, deselect, apply the mask and resize it 95%.
Paste frame 4 and resize 65%. Click with your magic wand anywhere on the canvas outside of the frame to make a selection, invert the selection and contract it by 20, make a new layer below the frame and paste paper 4 in to the selection. Make another layer, now paste paper 5 into the selection and deselect. Change the blend mode on paper five to “Screen”, apply the drop shadow to the frame, close off the white background and mask layers and merge visible. Re-open the closed layers and move the merged layer into position.
Paste element 40, resize 50%, place in position and apply the drop shadow.
Paste element 6, resize 30% and mirror, place in position and apply the drop shadow.
Paste element 16, resize 65%, place in position and apply the drop shadow.
Paste element 39, resize 50%, duplicate, mirror the duplicate, place in position and apply the drop shadow to each.
Paste element 10, resize 50%, duplicate mirror the duplicate, place in position and apply the drop shadow.
Paste element 31, resize 30% and mirror and place in position. Do not apply the shadow yet.
Paste element 50, resize 35% and place in position. Again, do not apply the shadow yet.
Paste the small cat with the hat on, resize 30%, place in position and apply the drop shadow.
Paste element 11, resize 70%, drag below the cat and position on the right, duplicate, move the duplicate over to the left and apply the drop shadow to each.
Paste element 18, resize 25%, place in position and apply the drop shadow.
Paste element 9, resize 25%, place in position and apply the drop shadow.
Paste element 24, resize 30%, place in position and apply the drop shadow.
Paste element 1, resize 12% and mirror, place in position and apply the drop shadow.
Check your layers now and make any adjustments, you need to be very careful about their placement leaving a gap for the train to run along.
Crop your tag and add your copyright information and text.
ANIMATION:
Duplicate the toy chest and the drum, drag the copy of the chest up so it is immediately below the copy of the drum and apply the drop shadow to both of them.
Close off all the layers starting at the bottom up to and including the bottom copies of the chest and drum and merge visible. Close of this layer, open the close layers and again merge visible.
Open the bottom layer, copy it and paste it in Animation Shop “As a new animation”. Open the bonus animation. You will see this animation has 24 frames, we want an extra frame so duplicate your bottom layer until you have 25 frames. Resize the train animation 70%, then select all the frames and copy them (Edit – Select all – Edit – Copy). Click on the first layer frame, then right click and “Paste into selected frame” and paste the train on your tag.
Now back in Paint shop, open the top merged layer of your tag, copy it and paste it in Animation Shop “As a new animation”. Duplicate this layer so you have 25 copies, select all the frames, copy them and paste them on your tag using the toy box and drum to line it up.
Go to View – Animation and check everything is ok and the train is well positioned. If not, undo and have another go (took me a few times to get it right).
When you are happy, run your tag through the Optimization Wizard and save as a gif.


Adorable tag! Great job!
ReplyDeleteThank you Lila :)
ReplyDelete