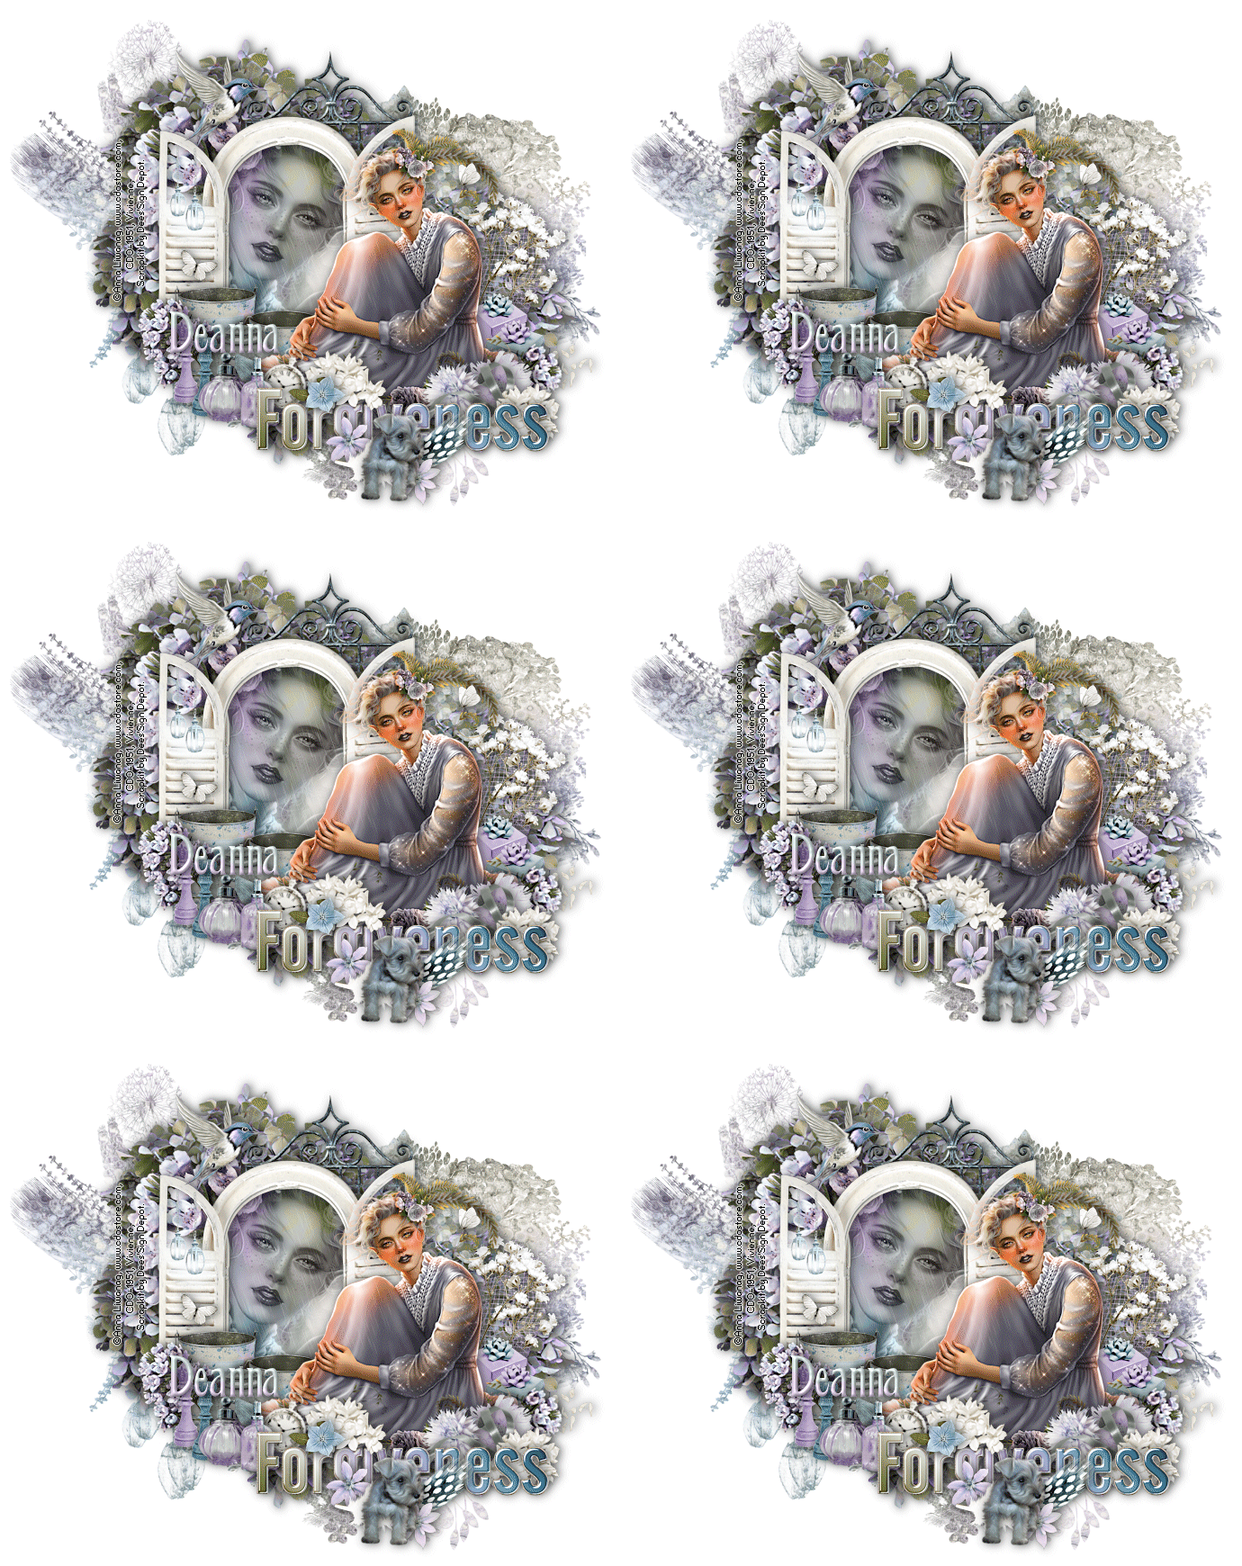
Forgiveness
In this tutorial I used the tube 115-3 from
Anna Liwanag.
This is a beautiful tube that comes with several colour options
and can be purchased at
The kit is “Forgiveness”.
Another stunning kit from Dee packed full of goodies available at
Deedles n Doodles store.
You will need mask 4 flowermask (3) from
For the animation you will need Animation Shop and
the freebie rain animation from
Font of choice.
I used a drop shadow of vertical 0, horizontal 5, opacity 65, blur 15.
Open a new transparent canvs 750 by 700 pixels and fill with white.
Paste the mask, resize it 25% and mirror it. Select all, float and defloat the mask, make a new layer, paste paper 12 into the selection, deselect, duplicate, merge the copy down onto the original and delete the original black mask layer.
Paste element 23, resize 40% and move into place. Select the interior of the element with your magic wand, expand the selection by 20, make a new layer below it and paste paper 1 into the selection, open the tube, mirror it and paste on your canvas, resize 55% and position in the element, invert the selection, hit delete and deselect, Change the blend mode on the tube to “Luminance and duplicate it, on the original copy go to Adjust – Blur – Gaussian Blur and apply with a radius of 10, lower the opacity on the top copy to around 70 and apply the drop shadow to the frame.
Paste element 39, resize 60%, move below the window layers, mirror and duplicate and mirror, place in position and apply the drop shadow to each.
Paste element 21, resize 50%, position between the two copies of element 39 and apply the drop shadow.
Paste element 48, resize 50%, position below the window layers and apply the drop shadow.
Paste the tube on the top, resize 25%, place in position and apply the drop shadow.
Paste word art 2, resize 45%, place in position and apply the drop shadow.
Paste spray 10, resize 60% and position below the tube.
Paste element 24, resize 10%, mirror and move into place.
Paste element 51, resize 25%, place in position and apply the drop shadow.
Paste element 22, resize 25%, place in position and apply the drop shadow.
Paste element 88, resize 10%, place in position and apply the drop shadow.
Paste element 92, resize 60%, position to the right of the tube and apply the drop shadow.
Paste element 54b, resize 50%, mirror and move into place.
Paste element 41, resize 40%, place in position and apply the drop shadow.
Paste element 80, resize 15%, place in position and apply the drop shadow.
Paste element 80b, resize 15%, place in position and apply the drop shadow.
Paste element 48 again, resize 20%, position on the left, duplicate, mirror the copy and rotate it 30 degrees to the right, position on the right and apply the drop shadow to each.
Paste element 27 above the tube, resize 10% and rotate 20 degrees to the right, place in position and apply the drop shadow.
Paste element 81, resize 15%, place in position and apply the drop shadow.
Paste element 82, resize 15%, place in position and apply the drop shadow.
Paste element 59, resize 15%, place in position and apply the drop shadow.
Paste element 71, paste element 15%, place in position and apply the drop shadow.
Paste element 34, resize 15%, place in position and apply the drop shadow.
Paste element 42. Resize 12%, place in position and apply the drop shadow.
Paste element 61b, resize 30%, place in position and apply the drop shadow.
Paste element 64, resize 15%, duplicate and mirror one copy, position the mirrored copy on the right and the original copy above the word art, apply the drop shadow to each.
Paste element 7 on the top, resize 8% and mirror, place in position and apply the drop shadow.
Paste element 10, resize 10%, place in position and apply the drop shadow.
Paste element 53, resize 20%, place in position and apply the drop shadow.
Paste element 11, resize 10%, place in position and apply the drop shadow.
Paste element 52, resize 20%, place in position and apply the drop shadow.
Paste element s 99, resize 15%, place in position and apply the drop shadow.
Paste element 100, resize 15% and rotate 20 degree to the right, place in position and apply the drop shadow.
Check your layers and make any adjustments, then crop your tag and add your copyright information and text.
ANIMATION:
Starting at the bottom, close off all layers up to the tube which is inside the window element and merge visible, close off this merged layer, open the previously closed ones and again merge visible.
Open the rain animation in AS and resize it 30%.
Copy your bottom merged layer and paste it in AS as “a new animation” then duplicate it until you have 15 frames which is the same as the rain animation. Select all the rain animation frames, copy them and paste them on the tube on your tag. Now copy your top merged layer from Paint Shop, paste in AS “as a new animation”, duplicate it a before, select all the frames, copy them and again paste on your tag.
Run your animation through the Optimization Wizard and save as a gif.


Comments
Post a Comment